With this simple step by step tutorial you can transform any vase or vessel into a lamp for your home! In this post you will also learn how to easily replace the plug on a lamp if you’d prefer not to use a battery lightbulb! I promise it’s really simple! Read on to see how we turned a $3 yard sale vase into a statement lamp that rivals the $300 one sold at high end stores!

Last fall, I found this gorgeous and HUGE vase at a yard sale in my neighborhood for $3. Score! I knew it has so much potential and would be a fantastic lookalike for some of the high end pottery I have seen. Even though painting it would have been such a simple project, I put it off for nearly a year waiting for the right inspiration to strike!

A few weeks ago I scored this beautiful pleated shade at Goodwill for $2, but didn’t have a lamp to go with it – inspiration struck!

Want more upcycling ideas? Don’t miss these posts!
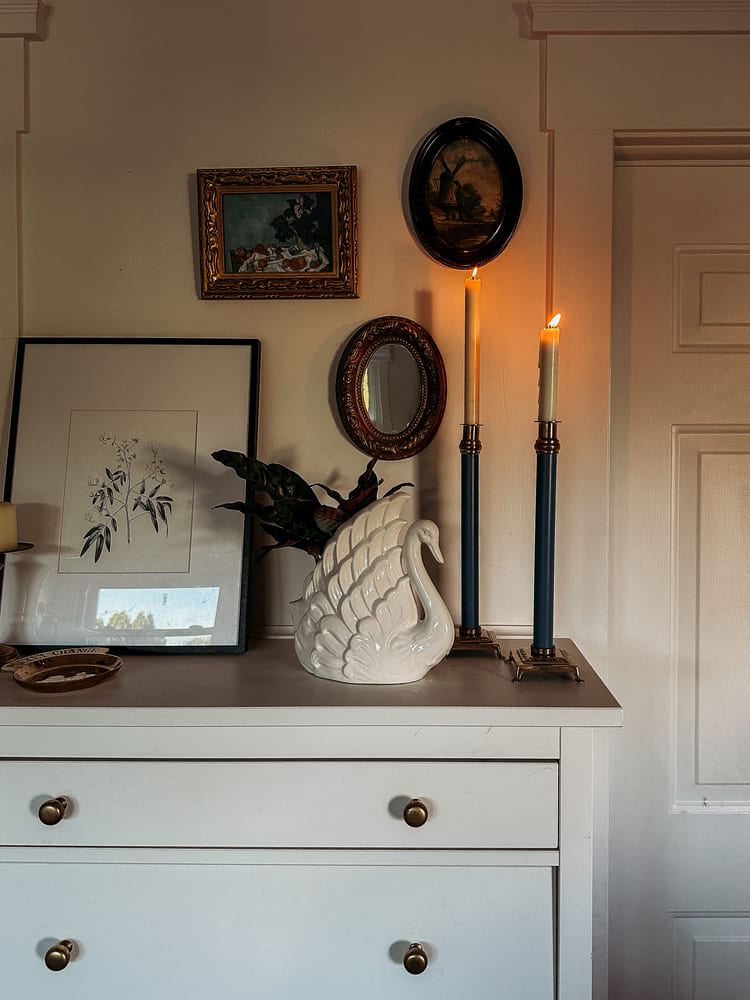
DIY Beaded Mirror
DIY Floral Art
DIY Display Frame
I’m sharing how exactly I turned a few thrifted pieces into a high end lamp for only $12! You read that right! Read on for the full tutorial!
How to Make A Lamp out of a Vase Tutorial
What you need
- large vase
- lampshade
- small lamp
- ceramic drill bit
- extra plug
- wire cutters
- screw driver
optional
How to Make it

1. I started by painting my vase with acrylic craft paint. I layered several neutral colors – black, brown, cream, and a little blush. Start with your darkest color, let that dry, and then continue with lighter tones. With every coat, I wiped away excess paint with a damp rag for a worn pottery look. My vase already had some beautiful texture to it, but you can always add a little baking soda or flour to your paint for texture! There’s no wrong way to do this, Just continue painting until you like the color! I absolutely love the look!

2. I looked at several options for how to convert this lamp into a working lamp. A light kit from your hardware store is definitely an option, but would have cost me $25. Instead, I scoured my local thrift shop for a lamp with a small enough base to fit inside my vase. I found this slender silver lamp for $5!

3. At this point, it is completely up to you if you want to move ahead with drilling a hole for the cord. This is the most inexpensive option and we already had the materials (and a handy husband!) to drill and add a new plug to my lamp. You CAN use a battery lightbulb (these are our favorite!) that works on a remote so there’s nothing to plug in. They will need to be recharged so if you’d rather opt for a plug in version, replacing a plug is actually very simple and I’m going to take your through it step by easy step!
Replacing a Plug

1. The most inexpensive way to make this DIY lamp is to drill a hole in the vase using a ceramic drill bit.
2. Once you have drilled your hole, cut off the plug from your lamp and thread your cord through the hole.

3. Take the end of your cord and separate the 2 wires.
4. Strip both of them with wire strippers/cutters.


5. Open up your new plug using a screw driver and insert each exposed wire into a terminal and turn the screws to tighten and hold the wires in place.


6. Gather the 2 wires together so that they come out of the hole in the plug when the plug is closed. Close the plug by tightening the screw(s).


You just replaced a plug, baby!!!

For more Secondhand Inspiration, START HERE
Similar lamps cost $300-$400! I’m so thrilled with how this lamp turned out and it provides gorgeous mood lighting on top of our dining room credenza!

Make sure to follow along on Instagram for more simple DIY inspiration, affordable home styling, and a peek inside our every day life! And don’t miss a single thing by subscribing to our weekly newsletter! Just scroll to the bottom of the page to sign up for The Rural Letter!
xoxo, L